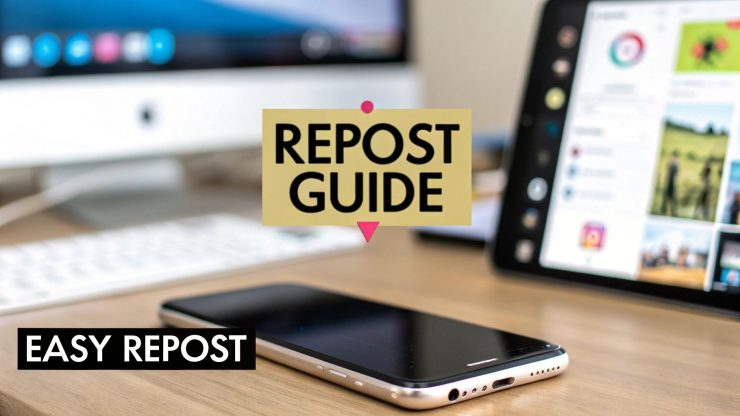
So, you want to repost something on Instagram? You've got a few ways to go about it. The quickest path is usually sharing a post to your Story using that little paper airplane icon. But for your main feed, you can now use Instagram’s built-in Repost feature, which is a game-changer. Of course, third-party apps and the old-school screenshot method still work if you need more control—just make sure you give credit where credit is due.
Why Reposting on Instagram Is a Smart Strategy
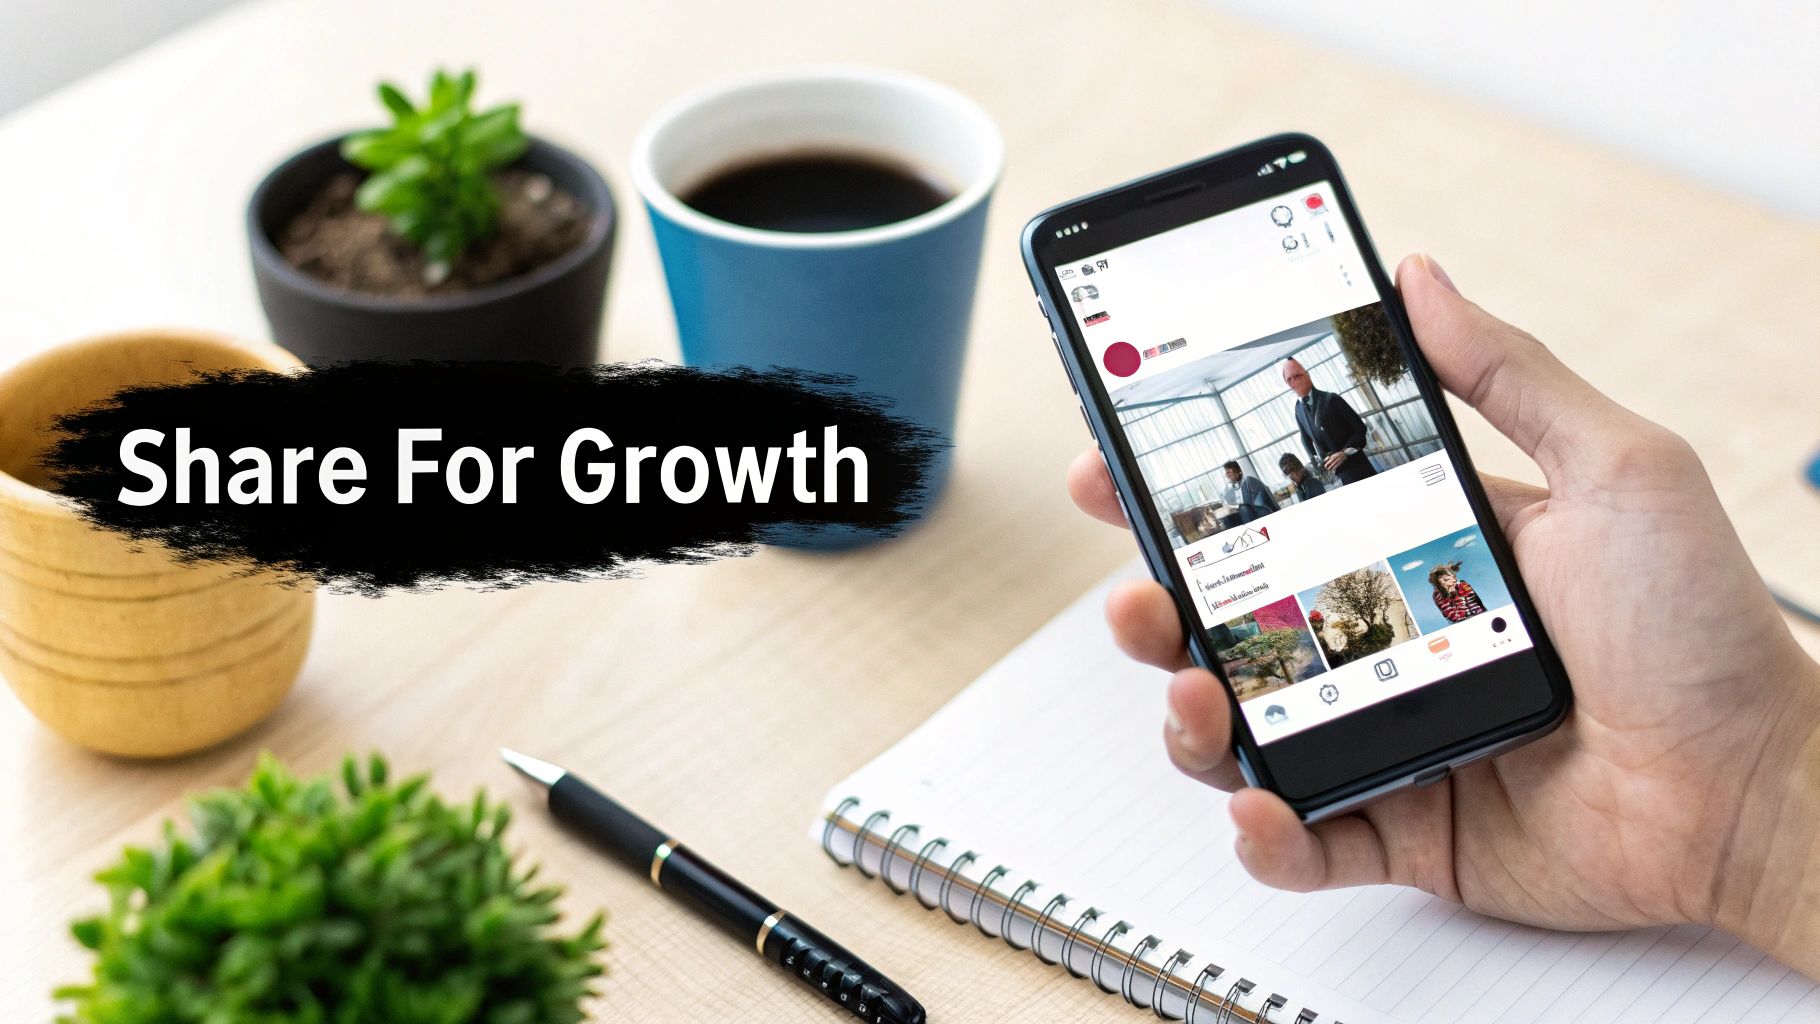
If you think reposting is just a lazy way to fill your content calendar, you're missing the bigger picture. It’s actually a powerful tactic for building a community, extending your reach, and generating serious social proof without having to produce every single post from scratch. In fact, smart reposting is a cornerstone of many successful social media marketing strategies because it gets more eyes on great content.
Building Community with User-Generated Content
When you share something a follower posted—what we call user-generated content (UGC)—it’s about so much more than getting a free piece of content. You’re putting a spotlight on your customers and making them feel valued.
This simple act of recognition fosters a stronger community. It inspires more people to start tagging your brand, hoping they'll get featured next. Suddenly, you’ve created a cycle of authentic, engaging content that shows your products or services being used in the wild, which is often far more convincing than a polished ad. Your audience goes from just watching to being part of the story.
The Rise of Native Reposting
Thankfully, the whole process has gotten much easier. Instagram's native repost feature, which started rolling out in August 2025, completely changed the game. It works a lot like a retweet on X (formerly Twitter), letting you share public posts directly to your feed with automatic credit to the original creator.
Now, you even get a dedicated 'Reposts' tab on your profile, keeping everything organized. You can dive deeper into how Instagram's repost feature works on Sproutbox.co.
Key Takeaway: Reposting isn't a shortcut; it's a strategy. You're taking content that has already proven it works and using it to save time, reinforce your brand's message, and strengthen your community.
Once you nail down the "why," you can approach reposting with a clear goal in mind, whether that's saving time, driving engagement, or building a tribe of loyal fans.
Using Instagram’s Built-In Sharing Features
Before you even think about third-party apps or manual workarounds, it’s worth mastering the official ways to share content right inside Instagram. These built-in tools are the most algorithm-friendly options because they’re seamless, automatically handle creator attribution, and are exactly what the platform is designed for.
The go-to method for most people is sharing a feed post to their Instagram Story. It's a fantastic, low-commitment way to highlight content from other accounts—or even your own—without adding it permanently to your feed.
Sharing a Post to Your Instagram Story
Sharing a post to your Story is probably one of the most powerful ways to show some love for content you appreciate. I use it all the time to give a shout-out to a partner brand, showcase an awesome customer review, or just pass along a post that I know my audience will connect with.
It couldn't be simpler:
- Find the post you want to feature in the Instagram feed.
- Tap the paper airplane icon right below the post (yep, the same one you use for DMs).
- From the menu that pops up, just choose "Add post to your story."
That's it. Instagram will pull the post into your Story editor, where it becomes a tappable sticker. From here, you can get creative—pinch to resize it, add your own commentary with text, drop in some fun GIFs, or even tag the original creator again to make sure they see it.
Pro Tip: Once the post is in your Story editor, just tap the sticker itself. You can switch between two different looks: one that includes a snippet of the original caption and a cleaner version that shows just the image or video.
Using the Native Feed Repost Feature
If you're looking for something more permanent than a 24-hour Story, Instagram has a native Repost feature that works a lot like a retweet on X (formerly Twitter). This is the official way to repost an Instagram post directly to your own feed, and it has some great built-in protections for giving credit where it's due.
When you use the Repost feature, the content shows up on your main feed, but it also gets neatly filed away in a dedicated "Reposts" tab on your profile. This is a brilliant touch because it keeps your original grid looking clean while still letting you share content from others.
The process is just as easy:
- On the post you want to share, tap that same paper airplane icon.
- If the creator has enabled it, you’ll see a "Repost" option.
- Select it, and the post will be shared with your followers, making it crystal clear that it's a repost and linking straight back to the original account.
The screenshot below gives you an idea of what this looks like in practice, showing how these features are designed to be intuitive.
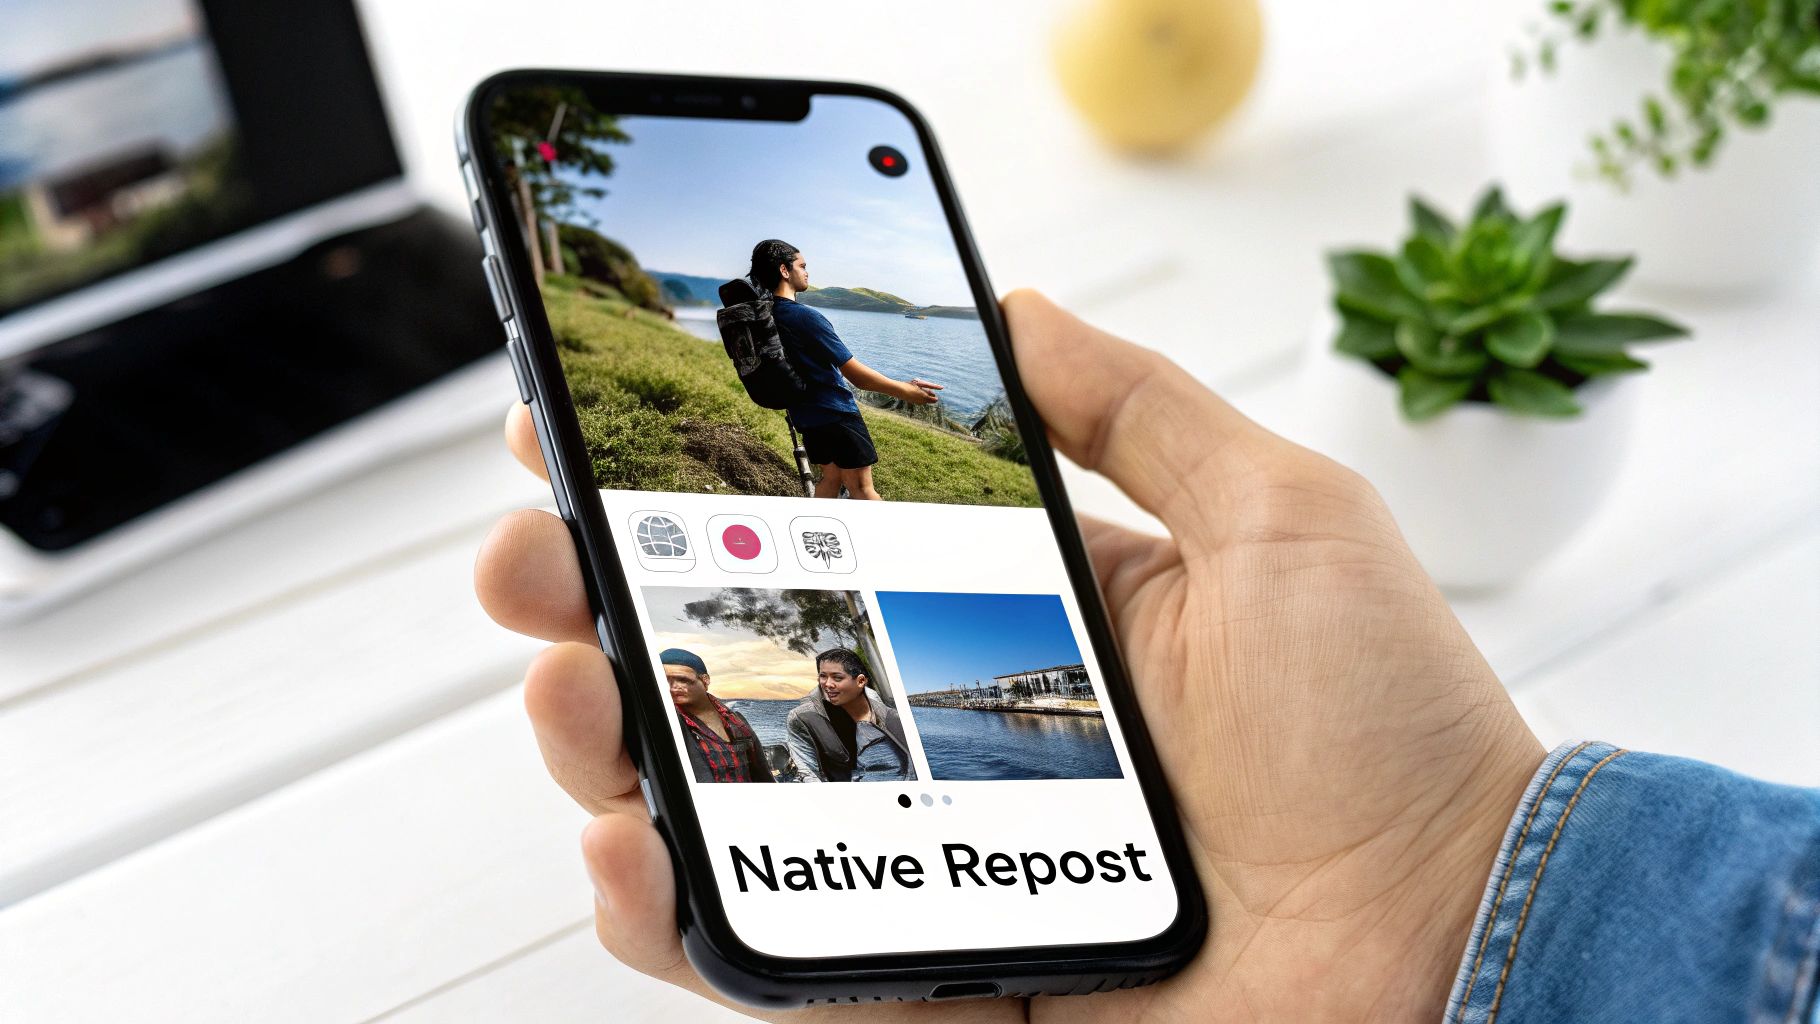
This visual shows just how seamlessly the repost option is integrated, making sure the process is simple and that the original creator always gets the credit.
Honestly, the biggest win here is that attribution is automatic and non-negotiable. The original creator's username is right there, front and center, so there’s zero risk of forgetting to give proper credit. It's a huge step up from the old days of screenshotting and manually tagging.
If you’re juggling multiple platforms, streamlining your workflow is key. Our guide on posting from Facebook to Instagram might give you some ideas for your broader social media strategy.
When to Use a Third-Party Reposting App
While Instagram’s built-in sharing features are great for a quick share to your Stories, they definitely have their limitations. What if you want to feature someone else's post directly on your own feed? That’s when the native options fall short.
This is exactly where third-party reposting apps shine. They act as a bridge, letting you pull a post from another account and share it to your feed with far more control than Instagram offers. If you've ever wanted to tweak how the credit is displayed or completely rewrite the caption to match your brand's voice, a dedicated app is your go-to solution.
For example, sharing to your Story keeps the original post's look and feel intact, which is great, but you can’t change the caption. A reposting app gives you a clean slate, letting you add your own perspective or call-to-action.
Why Choose a Reposting App
Look, opting for a dedicated app is a strategic move, especially when your feed's aesthetic is a top priority. The whole game boils down to two things: control and customization.
Here are the scenarios where an app makes the most sense:
- You want to customize the attribution mark. Most apps add a small watermark crediting the original poster, but they let you choose where it goes. You can tuck it into a corner or pick a color that blends seamlessly with your visual style.
- You need to edit captions freely. This is a big one. An app gives you a blank canvas for the caption. It's perfect for adding your own commentary, asking your audience a new question, or tying the reposted content into a current campaign.
- You want to repost without the original caption. Sometimes a great photo is paired with a caption that just doesn't fit your audience. An app lets you share the visual on its own terms, with your own carefully crafted message.
My Takeaway: The main draw of a third-party app is the ability to make a repost feel like it truly belongs on your feed. You're integrating it into your brand’s look and feel, which is something Instagram's native tools just don't let you do.
Essentially, these apps are the perfect middle ground. They’re less work than the old-school screenshot-and-crop method but give you infinitely more creative freedom than a simple Story share.
A Quick Guide to Using a Repost App
From my experience, most of the good reposting apps work in a very similar way. The interface might look a little different from app to app, but the core workflow is almost always the same.
Here's how it usually goes:
- First, find the post you want to share inside the Instagram app.
- Tap the three dots (…) on that post and hit "Link" or "Copy Link." This saves the post's unique URL to your phone's clipboard.
- Now, open up your reposting app. The smart ones will automatically detect the link you just copied and pull in the post for you.
- Here comes the important part: customizing the attribution. The app will give you options for the little credit banner—you can typically pick its position (like bottom-left or top-right) and sometimes a light or dark theme.
- Once you're happy, tap the share button inside the app. This will kick you back over to Instagram, ready to post to your Feed. The app usually copies the original caption to your clipboard, too, so you can choose to paste and edit it or just write something from scratch.
Following these steps is a super effective way for how to repost an Instagram post while making sure the final result looks just right.
A Word of Caution on App Safety
This is important: not all apps are created equal. Any time you use a third-party tool, you're potentially giving it access to your data. You have to be smart about protecting your Instagram account.
Before you download anything, always check recent reviews in the App Store or Google Play Store. I'm not talking about the five-star-only reviews; look for real feedback about bugs, surprise fees, or—most importantly—security problems.
Also, pay close attention to the permissions the app asks for when you install it. If an app that just reposts photos wants access to your contacts and private messages, that's a massive red flag. Stick to the well-known apps that have thousands of positive ratings and a solid reputation.
The Manual Reposting Method Done Right
Sometimes, the old-school way is the best way. The classic screenshot method might seem a bit basic, but it gives you complete control over the final look and feel of a reposted image. It's my go-to fallback when native features or third-party apps just don't cut it for the specific aesthetic I'm aiming for.
But this isn't about just snapping a picture of your screen and calling it a day. To make it look professional, you need a little more finesse.
First, take a high-quality screenshot of the post you want to share. Right away, jump into your phone’s photo editor. Your mission is to meticulously crop out everything that isn't the photo or video itself. That means getting rid of the phone's status bar, the Instagram UI, and any other distracting elements that scream "I just took a screenshot."
The Non-Negotiable Ethics of Manual Reposting
Getting the visual right is only half the battle. Proper attribution is, without a doubt, the most critical part of this whole process. If you don't credit the original creator, you're not just being rude—you're disrespecting their work and can seriously tarnish your brand's reputation.
Your credit needs to be clear, easy to see, and done in two places. Here's how I always handle it:
- In the Caption: Kick off your caption by giving credit right at the top. I like using the camera emoji (📸) or a simple "Credit:" followed by the creator's clickable handle (for example,
📸 @username). Whatever you do, don't bury the credit at the bottom of a long caption or hide it in a block of hashtags. - In the Photo Tag: After you've written your caption, use Instagram's "Tag People" feature to tag the creator's account directly on the image itself. This sends them a notification and adds the post to the "Tagged" section of their profile, which is a huge plus.
Crucial Takeaway: Clear attribution isn't optional. Tagging in both the caption and the photo is the bare minimum for respecting someone's work when you repost manually.
This hands-on process also gives you total control over the caption, which is perfect for framing the content for your specific audience. If you want to dive deeper, we have a whole guide on repurposing content for social media.
At the end of the day, whether you use a native share feature or the manual screenshot method, the goal is to build connection. Instagram has made it clear that shares are a major signal for its algorithm. Content that gets passed around tells the platform that it's valuable. Meta now heavily weighs this resharing intent, giving a nice visibility boost to creators and marketers who know how to tap into it. When you do it thoughtfully, even a simple screenshot can become a powerful community-building tool.
Automating Your Reposting with EvergreenFeed
Once you get the hang of manually reposting content, you'll quickly realize it's not a scalable strategy. Moving from one-off shares to an automated system is the real game-changer. This is how you stop chasing content every single day and start building a self-sustaining engine that works for you. When you pair a tool like EvergreenFeed with a scheduler like Buffer, your entire approach to sharing user-generated content (UGC) can be transformed.
Instead of the daily scramble, imagine having a pre-approved library of high-quality content ready to go. You could create a specific collection for your best customer photos, another for video testimonials, and maybe a third for helpful tips from others in your industry. It’s not just about filling slots in your content calendar; it’s about making your reposting strategy efficient, repeatable, and way more impactful.
Building Your Evergreen Content Library
The secret to smart automation is organization. I always advise clients to start by creating different "buckets" or categories for the types of content they want to share on a regular basis. This simple step ensures you're always serving a healthy mix of content that resonates with different parts of your audience.
Here’s a simple setup I've seen work wonders for social media managers:
- UGC Gems: This is your goldmine. Every time a customer tags you in a fantastic post, get their permission to repost, and drop it straight into this bucket.
- Brand Collaborations: Any content from influencers or partner brands lives here. It’s ready to be reshared to get more eyes on your joint campaigns.
- Helpful Industry Tips: Curate genuinely useful posts from non-competing experts in your niche. This is a classic move that positions your brand as a valuable resource, not just a product-pusher.
Organizing your reposts this way from the get-go prevents your feed from feeling repetitive or one-dimensional. It's the foundational step for any successful automation workflow.
Real-World Scenario: A local coffee shop could create a "Customer Creations" bucket in EvergreenFeed. They'd fill it with awesome, approved photos of latte art and pastries taken by their regulars. By setting a simple schedule, one of these authentic posts automatically gets published every Friday afternoon. Just like that, they've created a consistent "Fan Feature Friday" with zero weekly effort.
Setting Up Your Automated Schedule
With your content library built out, the next step is scheduling—and this is where you start getting your time back. You can set specific rules for each category. For instance, you might want a UGC post to go out every Monday and Friday, but a Brand Collaboration post only once a month during a specific campaign.
This level of control lets you maintain a consistent, active presence without the daily grind. The automation tool handles the tedious work of picking and publishing content, which frees you up to focus on what actually matters: strategy and community engagement. You can learn more about automating your Instagram posts to see just how deep you can go with this process.
When you look at the manual reposting method, it's pretty straightforward but time-consuming: take a screenshot, crop it, and manually add the credit.
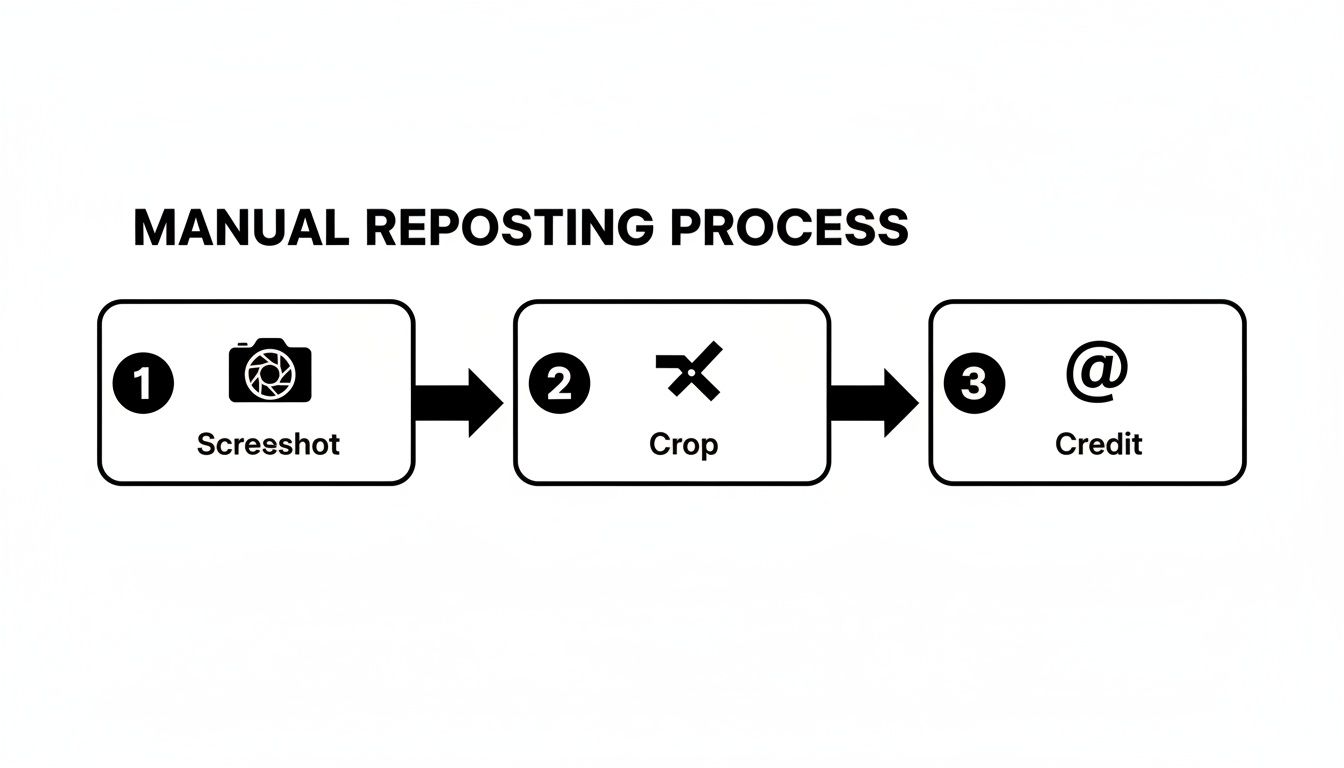
While this works for the occasional share, the flowchart really drives home just how much time you save by automating this process, especially when you're managing reposts at scale.
Common Questions About Reposting on Instagram
Even after you've got the tools and techniques down, a few questions about reposting probably still linger. That’s a good thing. Being thoughtful about sharing other people's content is smart, especially when it comes to copyright and basic community respect.
Let's walk through some of the most common sticking points so you can share content with confidence, build great relationships with other creators, and stay on the right side of Instagram's rules.
Is It Legal to Repost Someone Else's Instagram Post?
This is the big one, and the answer is refreshingly simple: legally, you need the original creator's permission to share their work. The moment someone creates a photo, video, or any piece of content, they own the copyright to it. Reposting it without their say-so can technically be considered copyright infringement.
Instagram’s built-in sharing features help with this by making attribution automatic. But if you’re going the manual route with screenshots or third-party apps, getting explicit permission is a must.
Before you even think about reposting, especially content you found outside of Instagram, make sure you have the rights. A quick read on using an image copyright checker can save you a world of legal trouble down the road.
Does Reposting Hurt Your Engagement?
This is a persistent myth, but in my experience, the opposite is usually true. When you do it right, reposting can be a fantastic way to boost engagement. The Instagram algorithm loves content that gets people talking and connecting, and shares are a huge signal of that.
By curating high-quality, relevant content that your audience genuinely enjoys—especially user-generated content (UGC)—you're doing more than just filling a slot in your content calendar. You're building a real community, showing your followers you see them and value what they create. It’s a sign of a healthy, interactive account.
Key Takeaway: Strategic reposting isn't just filler; it's social proof. You're amplifying content that’s already proven to connect with people, and that strengthens your brand's community vibe.
Can I Edit the Caption When I Repost a Post?
Whether you can tweak the caption really depends on how you're sharing the content.
- Native Feed Repost: Nope. When you use Instagram’s built-in feature to share a post to your feed, the original caption comes along for the ride, completely untouched. This is to preserve the creator's original context.
- Sharing to Story: Here, you get some creative freedom. You can add your own text, stickers, and GIFs on top of the post, but you can’t actually edit the text within the post sticker itself.
- Manual or Third-Party Apps: This is where you have total control. These methods let you write an entirely new caption from the ground up.
Even when you can write a new caption, the best approach is to add your own two cents or commentary while still giving clear, unmissable credit to the original creator with their @username right at the start.
Ready to stop reposting one-by-one and start building an automated content engine? EvergreenFeed lets you create curated libraries of your best content and schedules them for you via Buffer, saving you hours every week. Try it for free and put your best content to work at https://www.evergreenfeed.com.